
Here is a basic step-by-step guide to crochet baby booties:
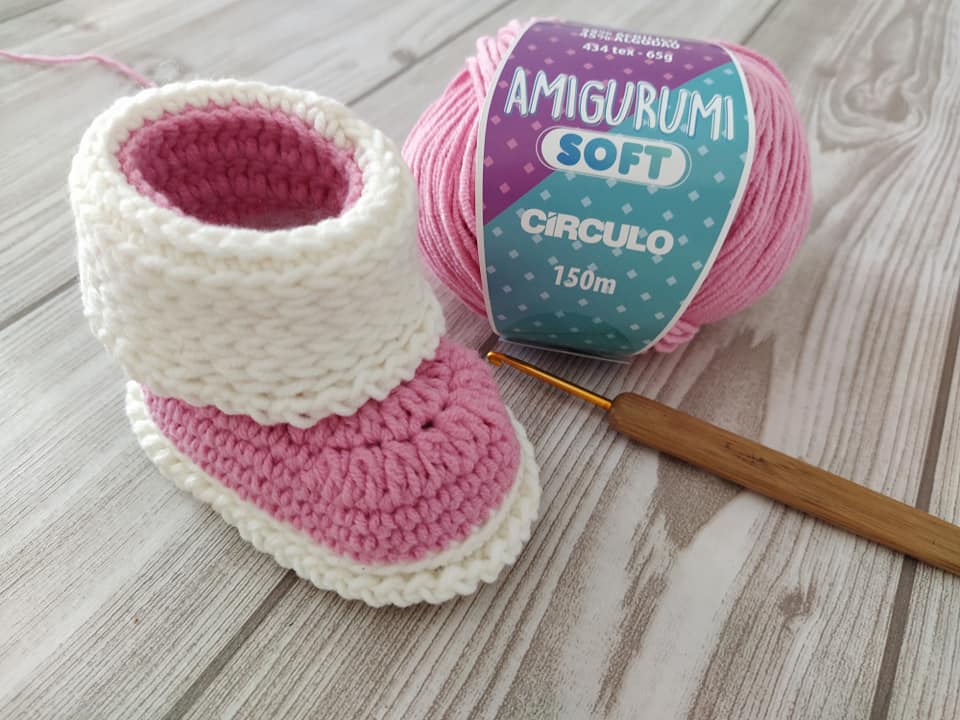
Necessary materials:
Crochet thread of suitable thickness for baby (generally used 100% cotton thread);
Crochet hook the right size for the chosen yarn;
Scissors;
Tapestry needle for sewing.
Step by step:
Start by making a base chain with 12 stitches. This will be the base of the shoe.
In the second chain from the hook, make a single crochet. Make single crochets in each chain until the end of the row.
Turn the work over and make 3 chains to go up.
Now make 1 double crochet in each single crochet on the previous row. This will form the top of the shoe.
Turn the work again and make 3 chains to go up.
Make 1 double crochet in each double crochet on the previous row.
Repeat step 6 for another 4 or 5 rows, depending on the size you want the shoe. This will create the height of the shoe.
To form the front of the shoe, start decreasing the number of double crochets. Make a double crochet, skip a stitch and make another double crochet. Repeat this pattern until the end of the row.
Continue decreasing the number of double crochets on each row until only one stitch remains. Close the last row with a slip stitch.
Repeat steps 1 through 9 to make the second part of the shoe.
Now, place the two parts of the bootie side by side and join them with single crochets along the sides and back. This will form the back of the shoe.
For the strap, make a chain the desired length to go over the baby’s instep. Secure the strap on each side of the bootie with single crochets.
Finally, hide the loose ends of the yarn with a tapestry needle.
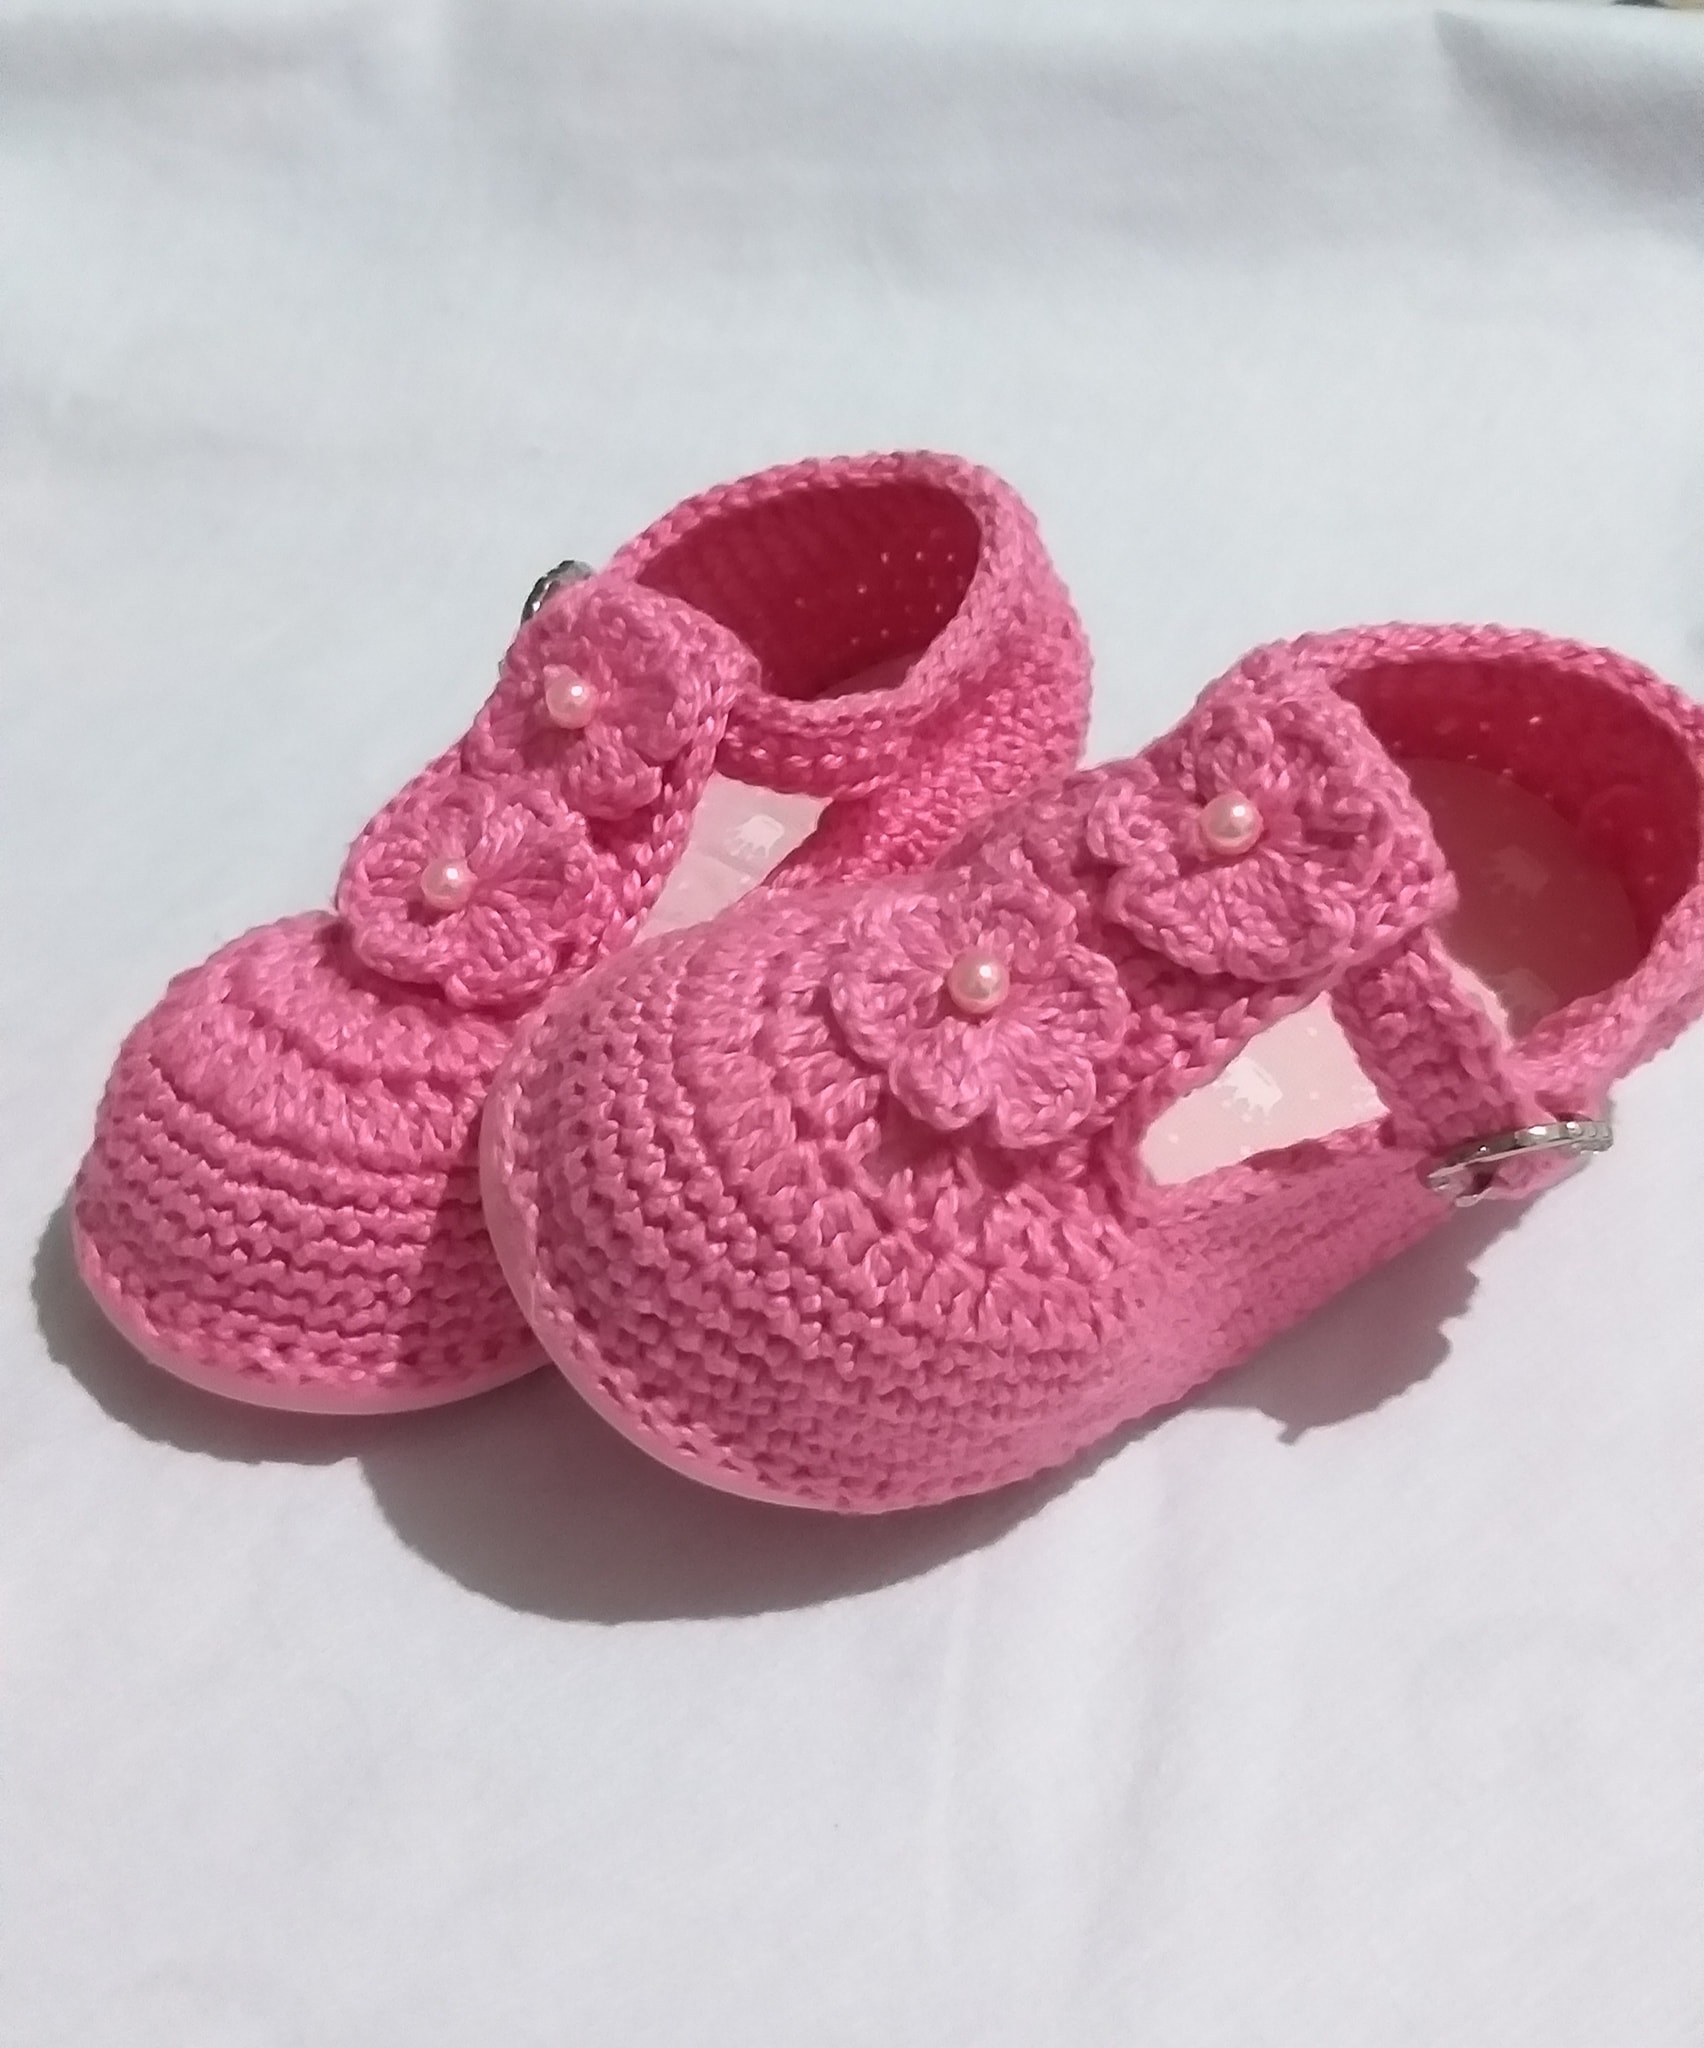
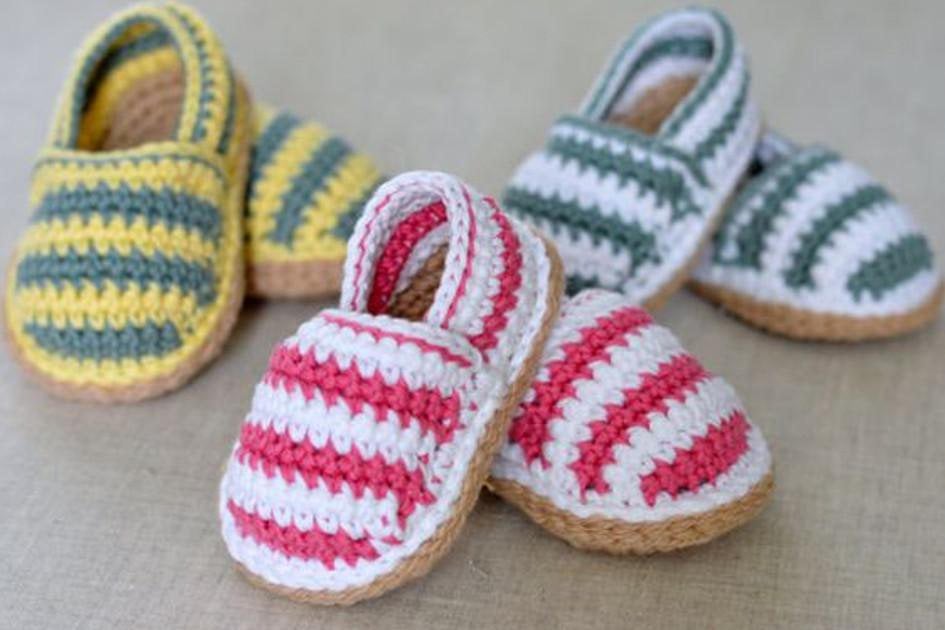
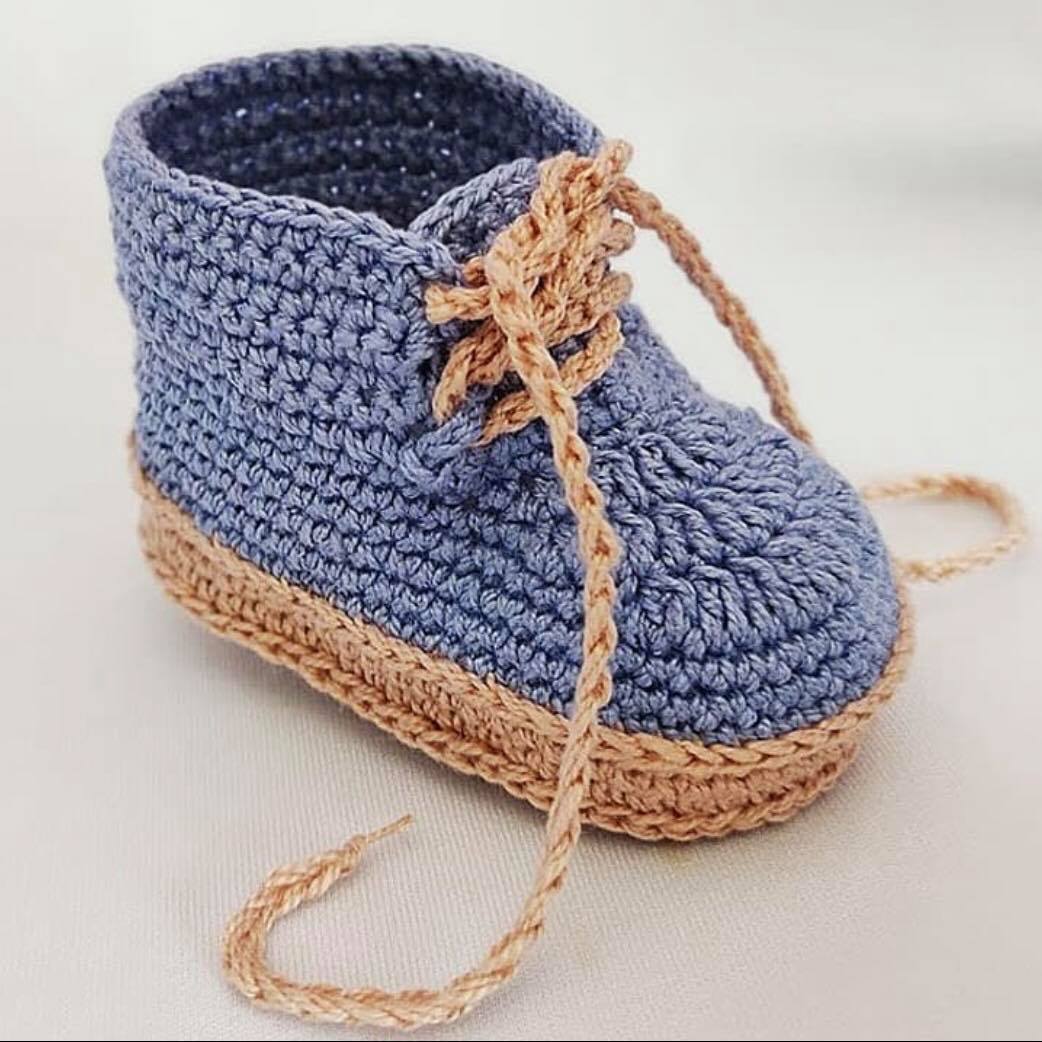
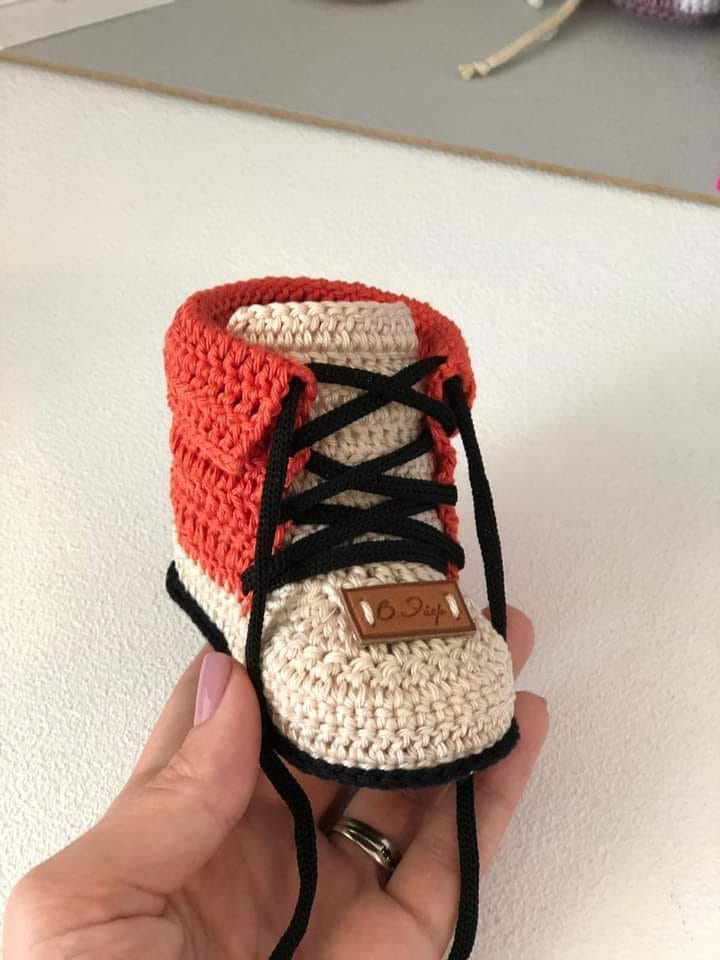
Remember to adapt the measurements and the number of rows according to the desired size of the shoe. In addition, you can add details such as bows, buttons or flowers to decorate the shoe if you wish.
These are basic instructions for crocheting baby booties. As you gain experience, you can explore different stitches and patterns to create even more elaborate and personalized booties.
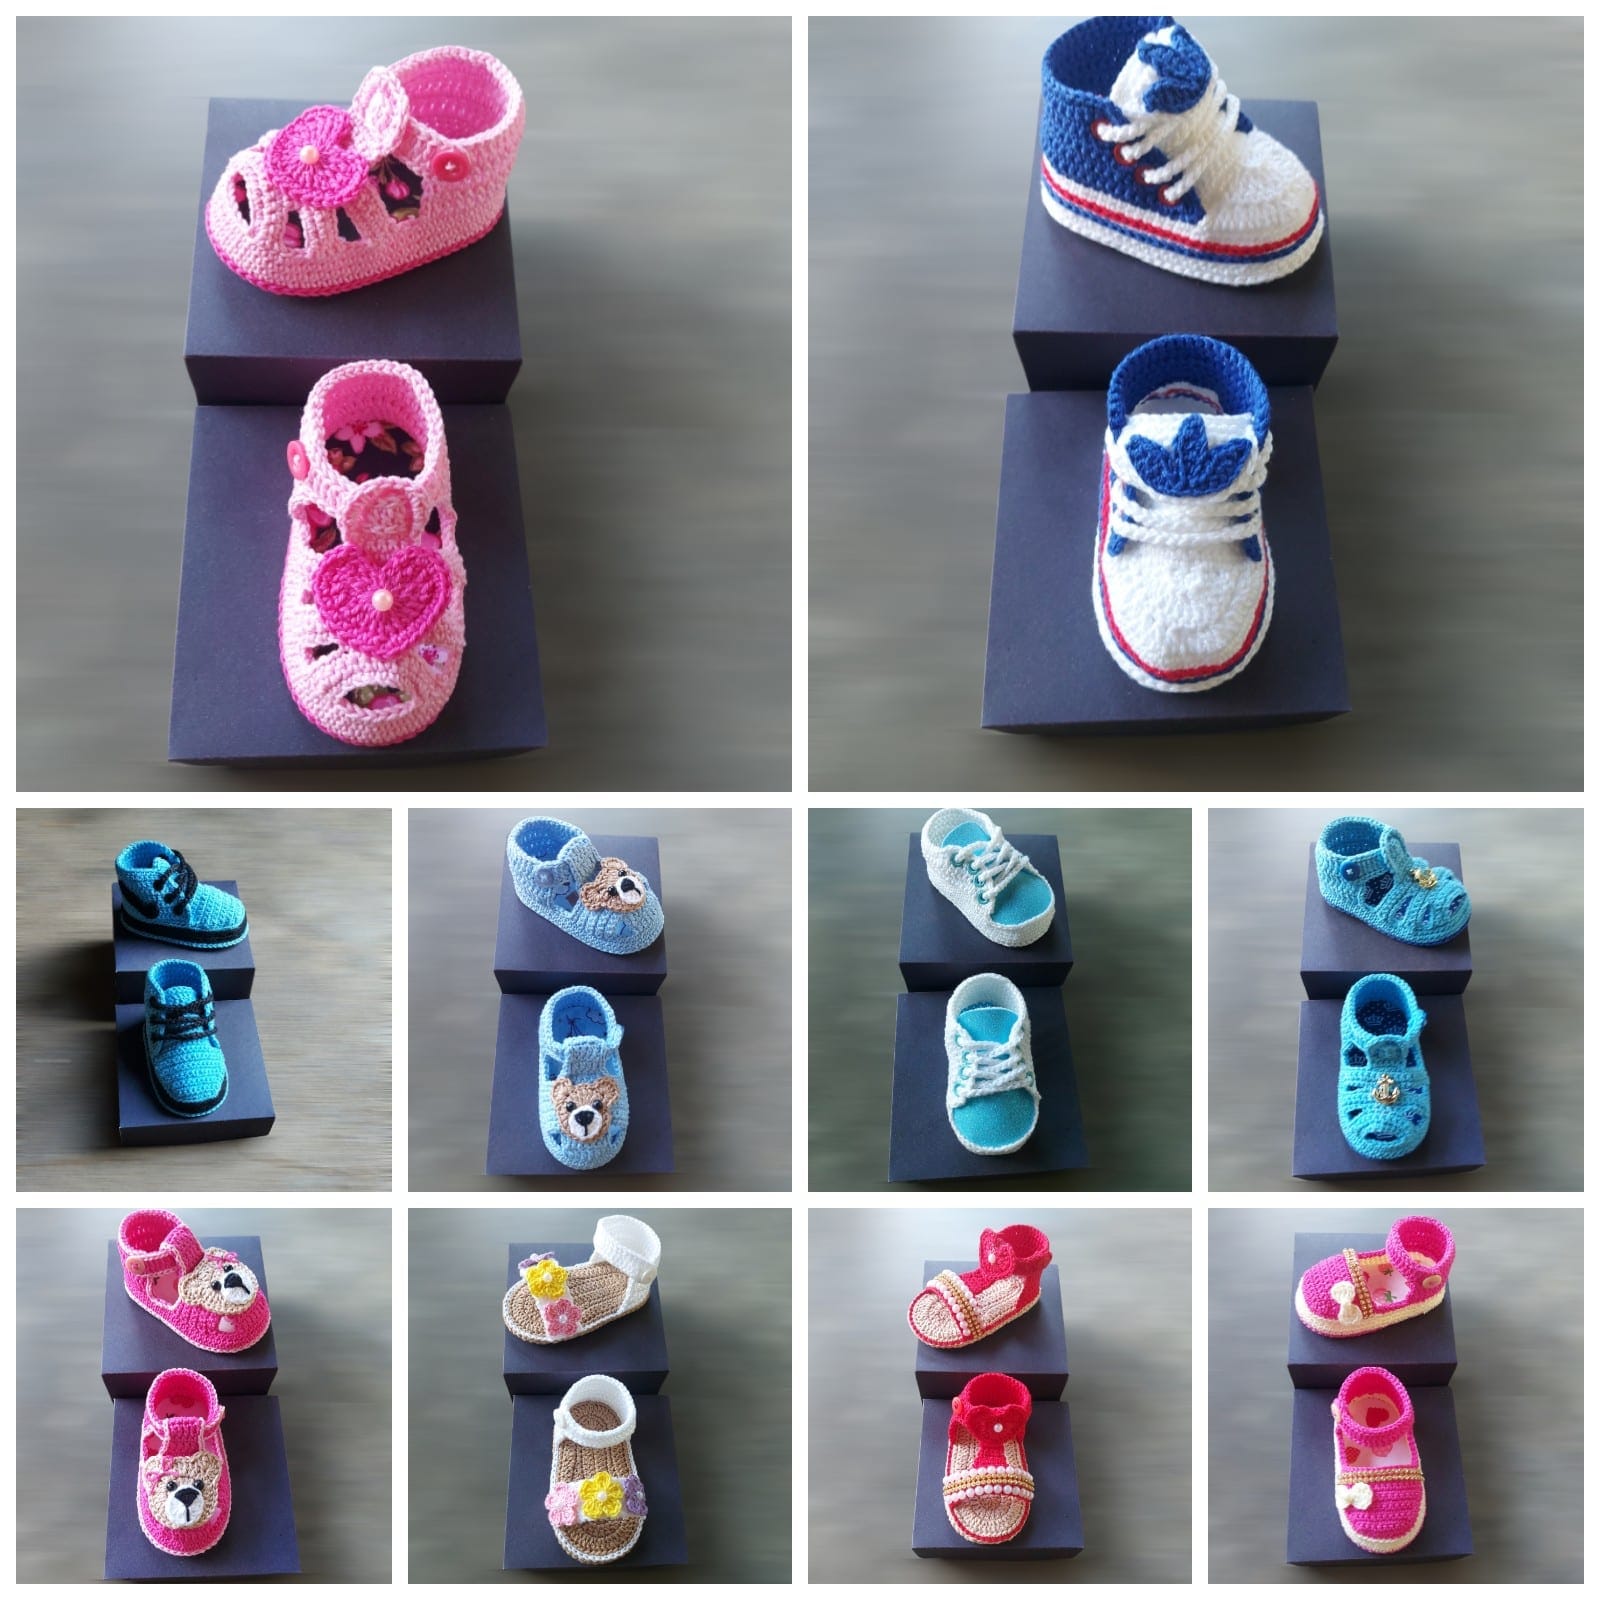
INSPIRATIONS: