

Quilt Carpenter Star is a beautiful quilt pattern that involves creating blocks in a star shape. Here is a basic step-by-step guide to making a Carpenter Star Quilt:
Necessary materials:
Fabrics of your choice for the blocks, stars and borders.
Patchwork ruler.
Rotary cutter.
Cutting base.
Sewing machine.
Sewing thread.
Padded blanket.
Fabric for the backing (back of the quilt).
Sewing pins.
Iron.
Step by step:
Choose the fabrics you want to use for your Carpenter Star Quilt blocks. Traditionally, contrasting fabrics are used to enhance the star pattern.
Cut the fabrics into squares the size you want the blocks. For example, if you want 10 cm squares, cut 10 cm squares from each fabric.
For each star block you will need 8 squares of the same size. Choose 4 squares from one fabric and 4 squares from another fabric for each block.
Join two squares of different fabrics, right sides facing each other, lining up the edges. Sew along one of the edges with a seam allowance of approximately 1/4 inch (about 0.6 cm).
Open the seam and press it with the iron so that it lies flat.
Repeat the process for the other two pairs of squares, forming three units of two different fabrics.
Join the three previously formed units, aligning the edges and sewing along one of the edges. You now have a complete star block.
Repeat steps 4 through 7 to make as many star blocks as you want for your Carpenter Star Quilt.
Merge the star blocks into a layout you like. You can intersperse star blocks with solid fabric blocks, for example, or create a specific pattern.
Sew the blocks together, lining up the edges and sewing with a 1/4 inch seam allowance.
After sewing all the blocks together, add the borders to your quilt. Cut strips of fabric to the desired length for the top, bottom, and side edges, and sew them around the quilt.
Be sure to add a layer of quilt and backing fabric (back of quilt) before quilting. Secure the layers with sewing pins.
Quilt, which is the process of quilting the quilt layers together. You can do this by hand or with a sewing machine, following the pattern of your choice.
After you finish quilting, trim the edges of the quilt to a clean finish and make
Sew the final seam around the entire quilt to secure the layers and give a neat finish. This is called “binding” or edge finishing. Cut strips of fabric for the binding, about 5 cm wide.
Join the binding strips at a 45 degree angle to create a diagonal seam. Sew the binding strips together, forming a continuous strip that is long enough to cover the entire circumference of the quilt.
Fold the binding strip in half lengthwise, right sides facing in, and press down with the iron.
Align the folded edge of the binding with the edge of the quilt, starting at one of the corners. Pin along the edge, ensuring the binding seam faces the inside of the quilt.
Sew along the edge, securing the binding to the quilt. You can sew by hand using blind stitches or use the sewing machine with a straight seam close to the edge.
When you reach the end of one side, bend the binding to a 45-degree angle, then fold it again, aligning it with the next side. Continue sewing along the next side and repeat this process until you are back where you started.
Join the ends of the binding, making a diagonal seam to obtain a smooth finish. Cut the excess fabric and make the final finishing touches.
Congratulations! You have now completed your Carpenter Star Quilt. Remember to enjoy the creative process and customize your quilt with fabric colors and patterns of your choice.
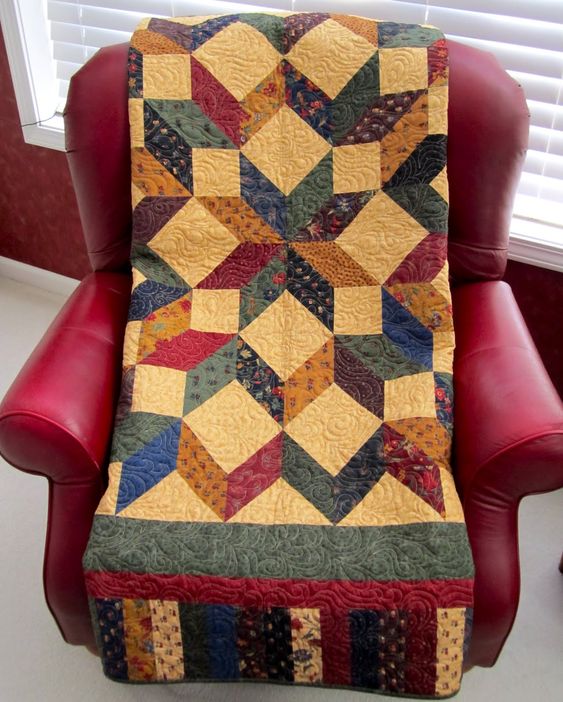
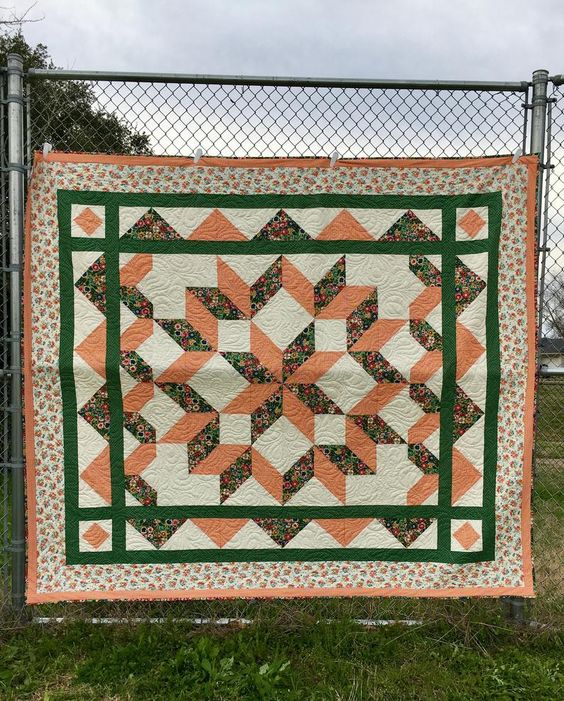
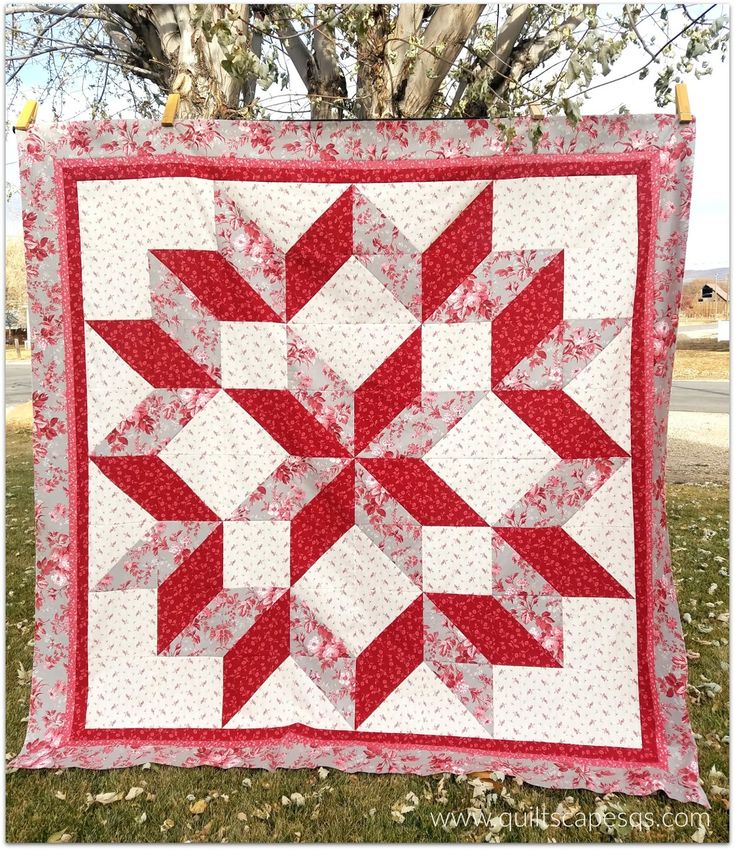
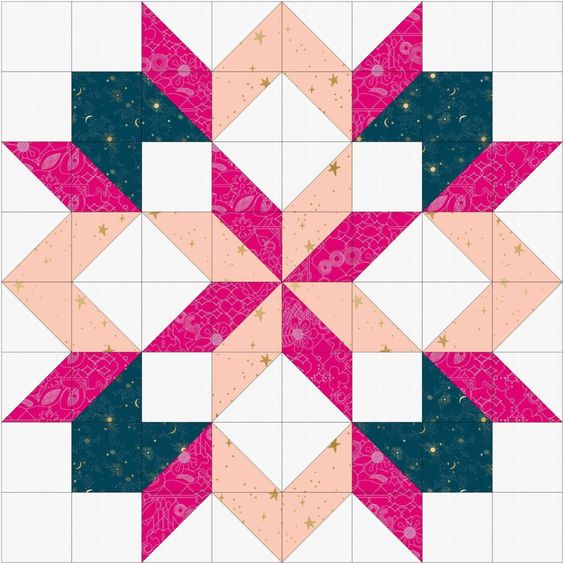
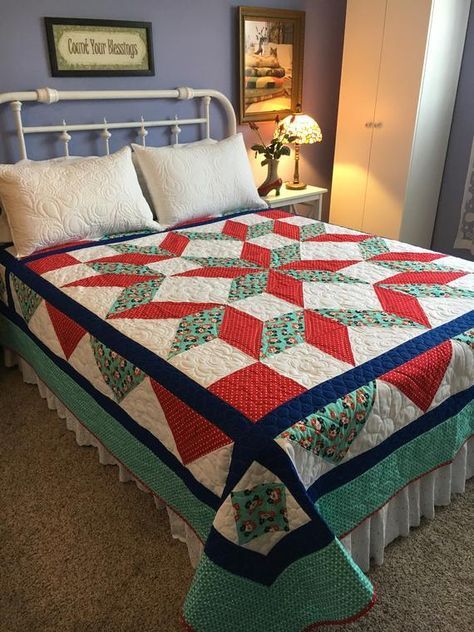
INSPIRATIONS:
SEE ALSO VIDEO TUTORIAL : CARPENTER STAR QUILT


